Ultimate Guide to Printing Photos: From your Pixieset Gallery to Wall Art & Albums

Posted In
November 16, 2023
Posted On
Woo-hoo! You just gained access to your photo gallery! I hope you took some time to sit down with your partner or family and scrolled through the images together, reliving all the special moments from our time together.
Now comes the hard part: picking the right photos to transition from your screen to their next life, hung in frames and displayed on your walls!
In this blog we will go over:
- What to Do Once You Receive Your Pixieset Gallery
- How to Navigate the Gallery
- How to Order Prints from Your Gallery
- Printing Inspiration
Let’s get started!
Gallery After Care
After receiving your gallery, there are three things you should do:
- Read your photographer’s email thoroughly for details about your gallery.
- Download your entire gallery to your computer.
- Back it up onto a cloud service.
I cannot stress enough the importance of backing up your images. I keep galleries live for about 3 months after a session and then take them down. Although I back up all my galleries on my hard drives for five years, technology can fail and accidents happen. I want to ensure that you keep your memories forever. So, please, from the bottom of my heart, save your gallery in two places: a hard drive and then cloud storage.
Wondering what else you should do once you receive your gallery? Check out this blog on the 5 Things to Do After You Receive Your Photos.
Okay, now back to our regularly scheduled content.
How to Navigate Your Gallery
First things first, get to know your gallery. I use Pixieset to deliver all my galleries to my clients. Directly from your gallery, you’ll have access to the print shop where you can order prints. But before we get there, let’s discuss how to download your images.
If you want to download your entire gallery for backup, then all you have to do is select the download button at the top.

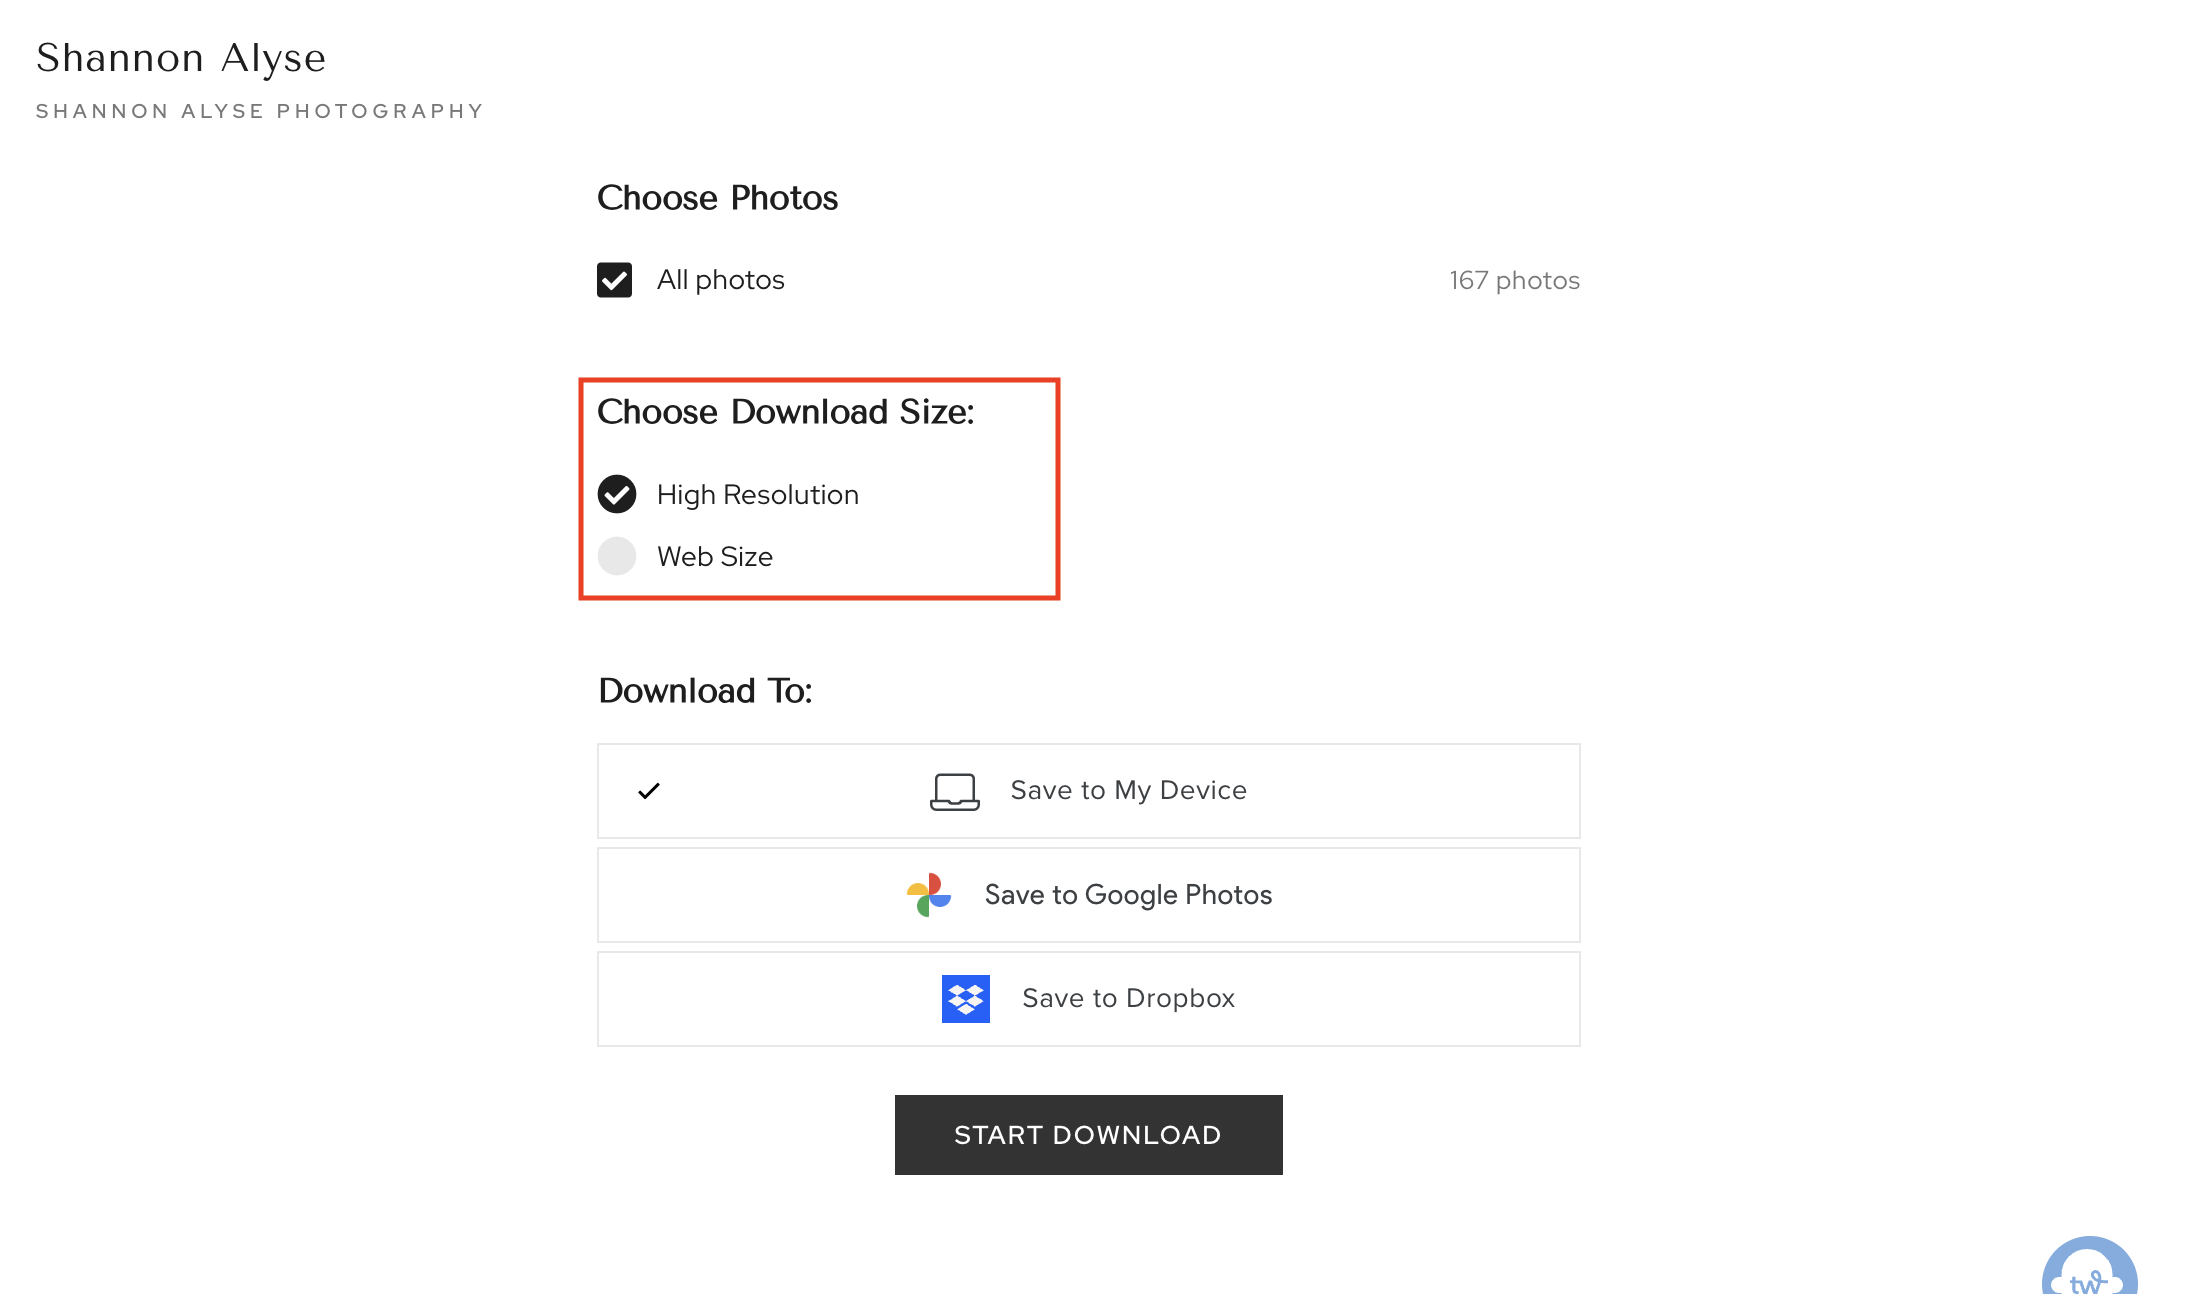
This button will take you to a download page, where you will select the destination for the photos and the size to download. For printing photos, you’ll want to select high resolution. If you are using photos for web purposes, like a wedding website, social media, or sharing via email, you’ll want to use web xize.
High-resolution photos are at 300 DPI, meaning they are excellent for prints because they can be enlarged and resized without compromising the quality of the print.

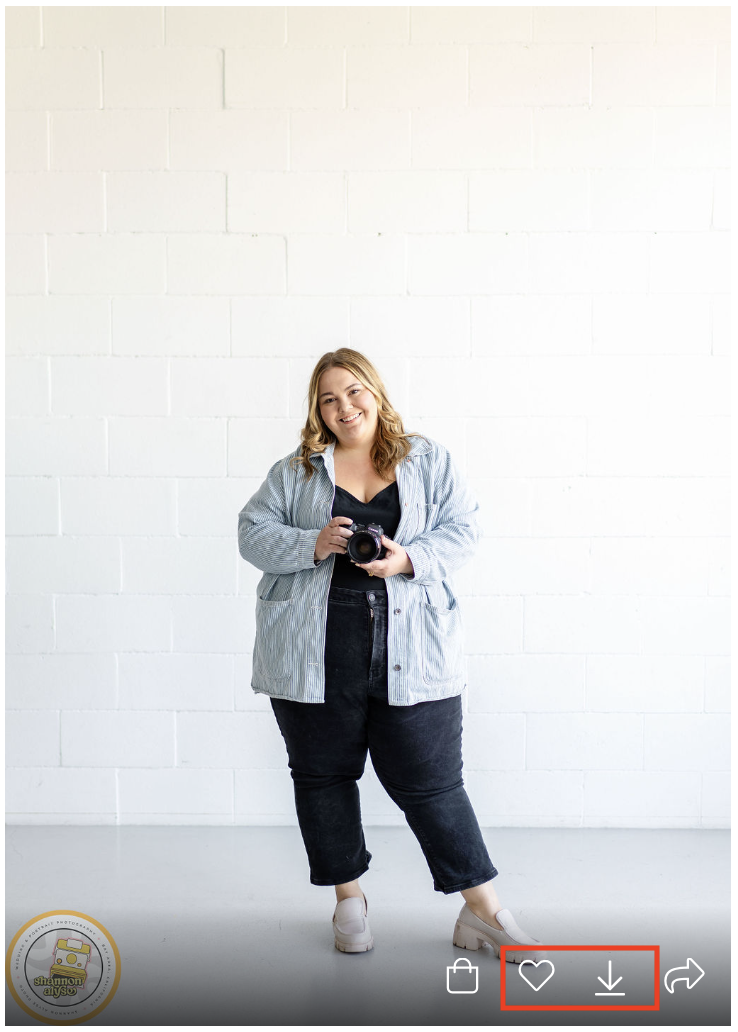
If you want to download just a few photos, that’s an option as well. As you go through each photo, you can ‘heart’ the image. This action will add that photo to a favorites list. Then, from that same download button, you can download your favorites list.

If you want to download just a single photo, hover over the photo you like and click the download button, right next to the heart. After doing that, you’ll be prompted to choose a save location. Please note that when you download single photos, they will all be print-sized, meaning they are going to be large. If you want these for social media, it won’t affect the quality of the image.
Using your Gallery For Ordering Prints
Now that you have a good grasp on your gallery, the next step is ordering prints!
Look, I used to do this as well. I would download my gallery then head over to Walgreens or Costco for my prints or cards. I’m not here to shame you! Please, if that fits your lifestyle and budget, continue with what works for you.
I’m not trying to change how you do things, but I also wanted to highlight another option that you might not have known about.
With your Pixieset Gallery, instead of downloading all your images and then reuploading them to a printing site, you can order images directly from the gallery – no downloading or resizing needed. You select the images you want, choose the type of prints, and add them to your cart. From this gallery, you can print things like:
- Regular old photo prints, think the classics like 4×6, 5×7, or 8×11
- Square cut prints in a variety of sizes
- Enlarged photos, like poster-sized or bigger
- Canvases
- Wood Blocks or Metal Prints
- Calendars
- Holiday Cards
- Thank You Cards + Stationery
- Albums!
Depending on what you are printing, you can resize the image or crop it to fit the print size all within your gallery. The best part is that resizing or cropping won’t affect the quality of the image or the print.

When you order from your gallery, you are ordering from a professional printer, whose equipment has been calibrated to match the colors you see on your screen with the photos that are printed. I work with Miller’s Professional Imaging to ensure that clients receive the highest quality photos.
Miller’s typically turns around most prints in about 5-7 days.
Printing Inspiration
Woo-hoo! Now you know how to work your gallery and order prints from it. I understand that ordering prints can be daunting. You want to print photos, but figuring out what to do with them can feel overwhelming. So, here are three of my favorite, practical ways to use photos, which are also less stressful than trying to order huge prints for empty walls in your home.

Gallery Walls
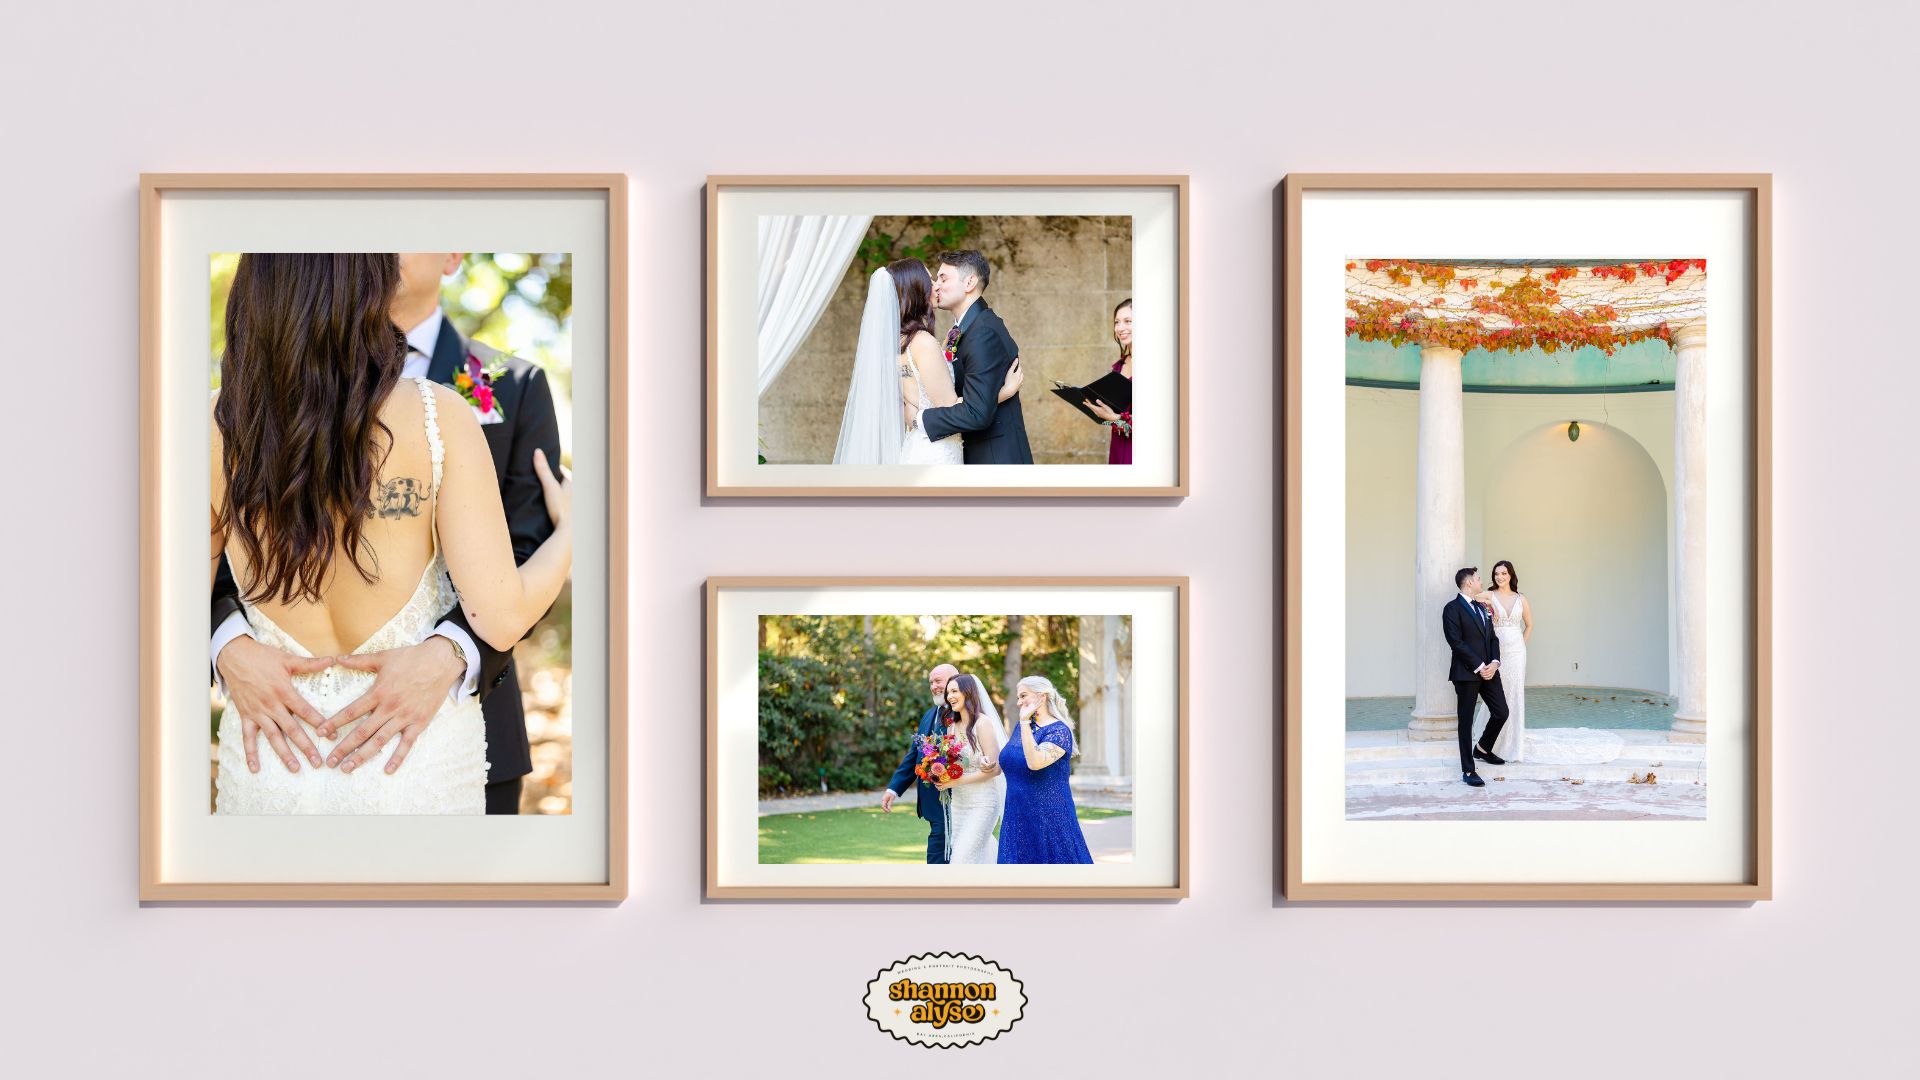
Many clients want to fill their walls with photos, and I love it! But this often means you’re faced with huge spaces needing LARGE canvases to fit your home. Or, on the opposite end, you might have a small space with only room for one big print but love multiple photos.
This is where the beauty of the gallery wall comes in. It allows you to use as many photos as you want or need to fill a space. For those big empty walls, you can use large frames of different sizes to create a dynamic art piece. In those tiny spaces? Smaller prints can fill the space with a collection of photos.
The best part about gallery walls? You’re not printing huge canvases, so the cost really depends on the quality of your frames. Plus, you can easily change photos each year or add more frames to the wall. The gallery wall offers flexibility and can grow as your family does.
Albums
Albums are significant. Many of my clients don’t have the wall space for photos. Maybe your home is smaller, every wall is already functional, or you’re renting and can’t put holes in the walls. Yet, you still want to fill your space with memories.
The next best option? Creating photo albums. These albums can become the best coffee table books that people love to look through, or they can be great gifts. While many think of wedding albums as the only type to create, yearly family albums are incredibly special.
Having a physical book of your family’s year in review is something you’ll cherish year after year as your kids grow. Imagine this: having a photo album of the years you were dating, of the year you got married, the year you started your family, and then, in ten years, sitting down with your kids to flip through your family’s story.
Cards
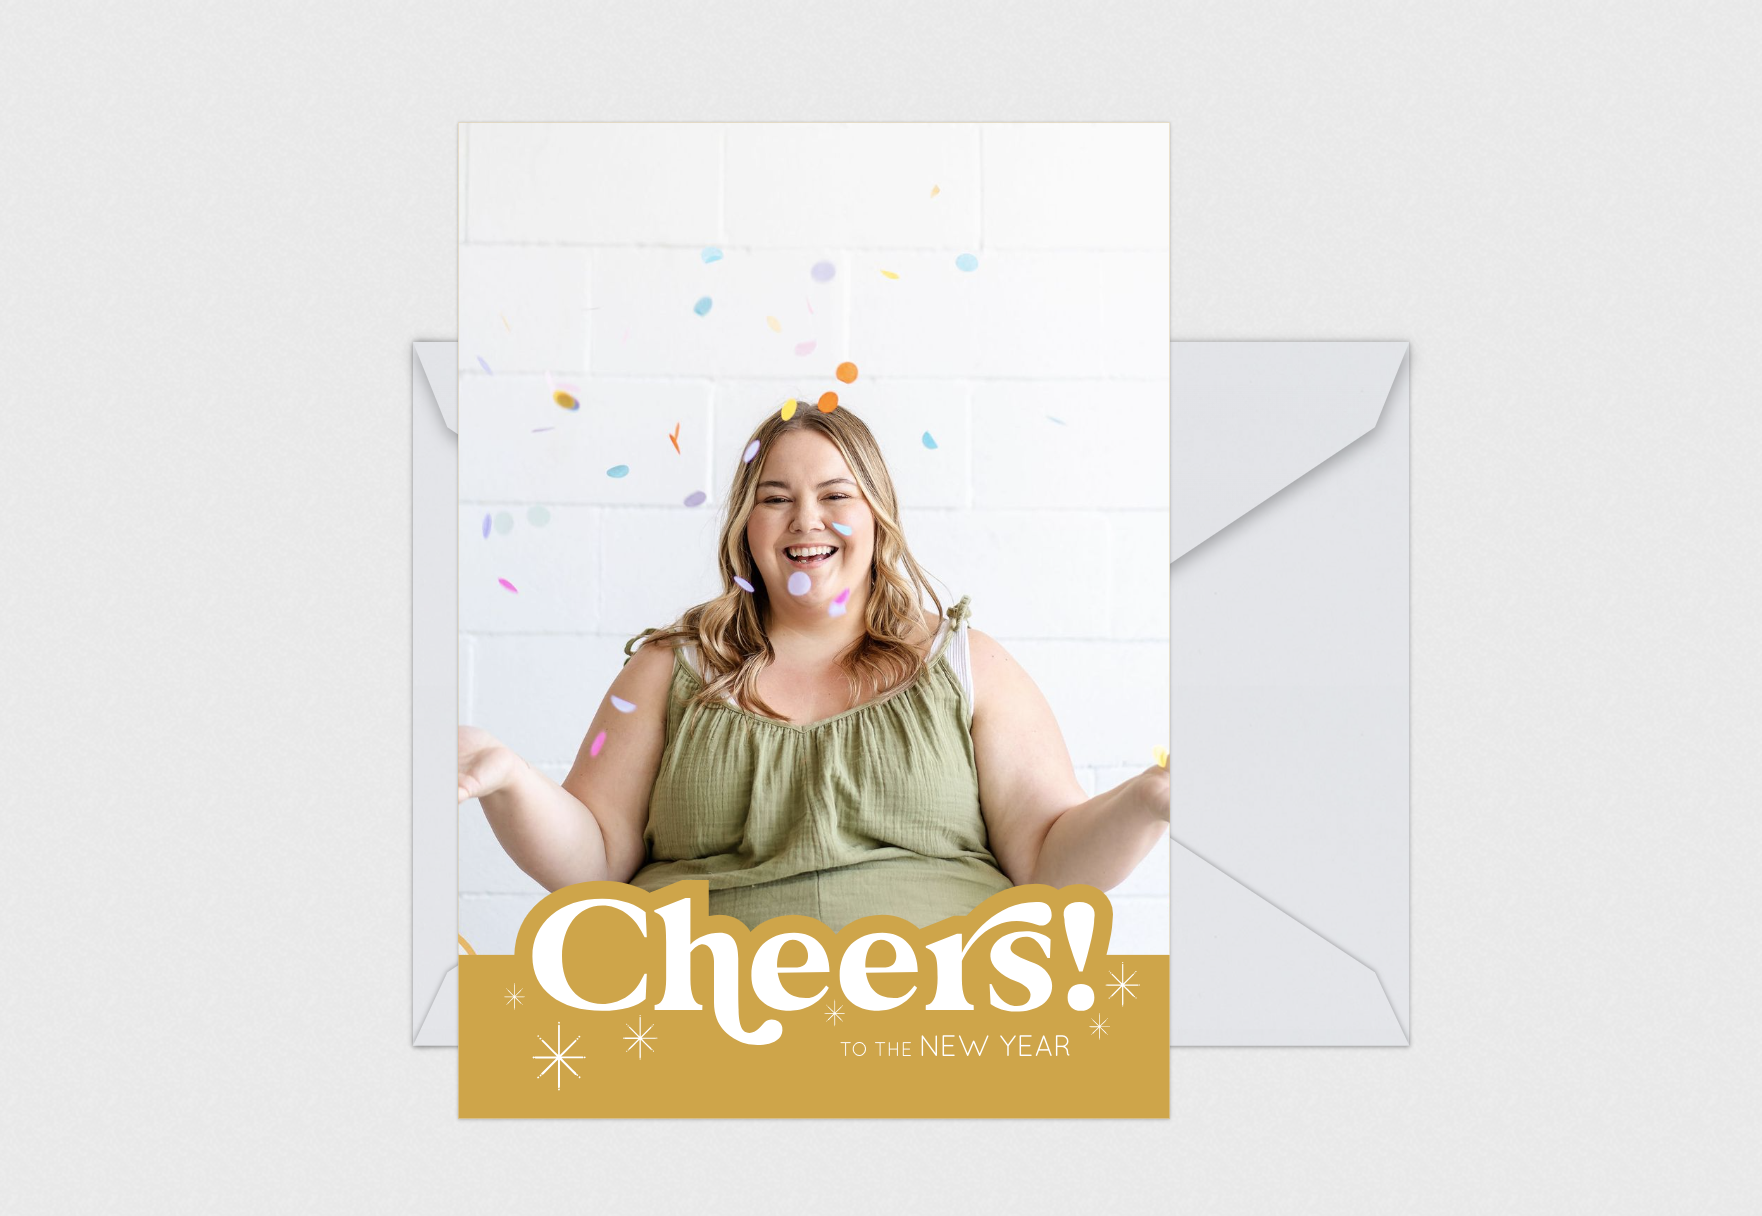
Holiday cards, wedding thank you cards, birthday invites, graduation announcements, newborn announcements—snail mail is not dead! One of the best ways to print your photos is in the form of cards. Not only do you keep the card as a keepsake, but you also share photos of the people you love most with others you cherish.
Your parents, best friends, aunts, and uncles are excited to hang those cards on walls and fridges. A pro tip with announcements? Try making one side of the card just a solid photo without a design. That way, the recipient gets a full photo of your subject. People are more likely to hold onto photos and frame them when they don’t have graphics or text on them!

Questions?
Ask away! Seriously, I love helping clients figure out what images to print. I am happy to help you figure out gallery walls and create albums. If you have any questions at all, please don’t hesitate to reach out.
As always, I can’t wait to see what you do with your photos!